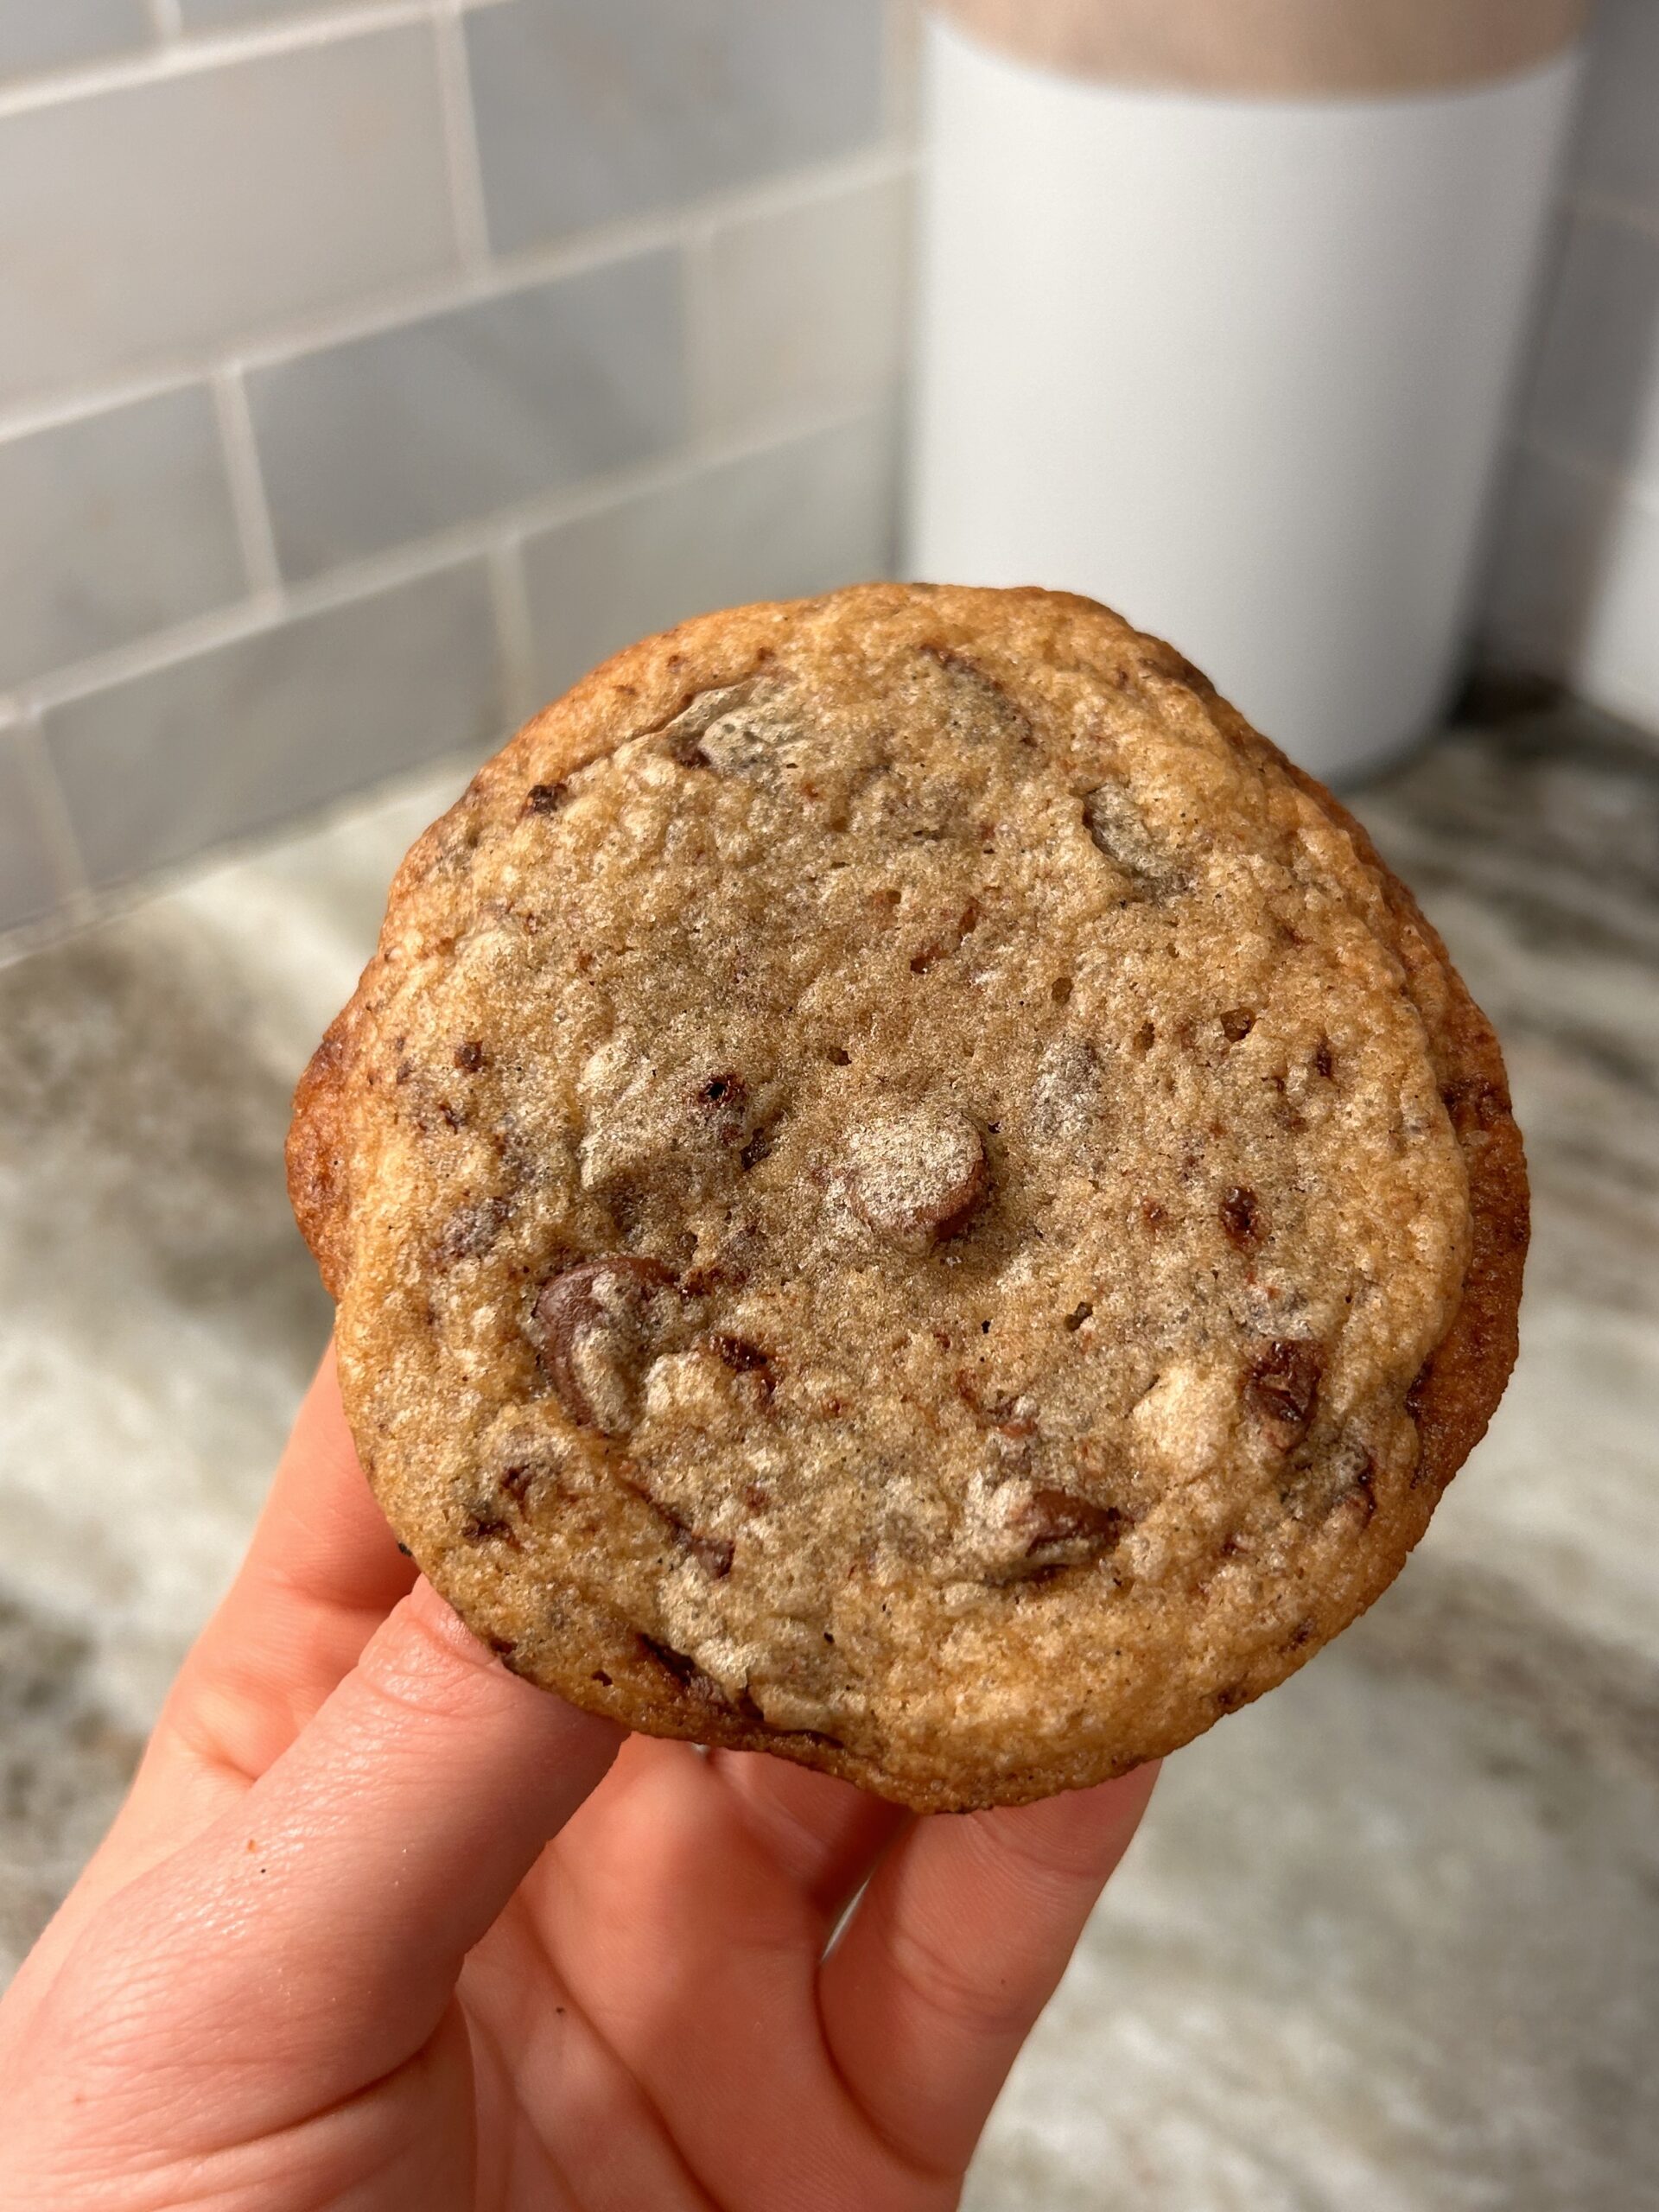
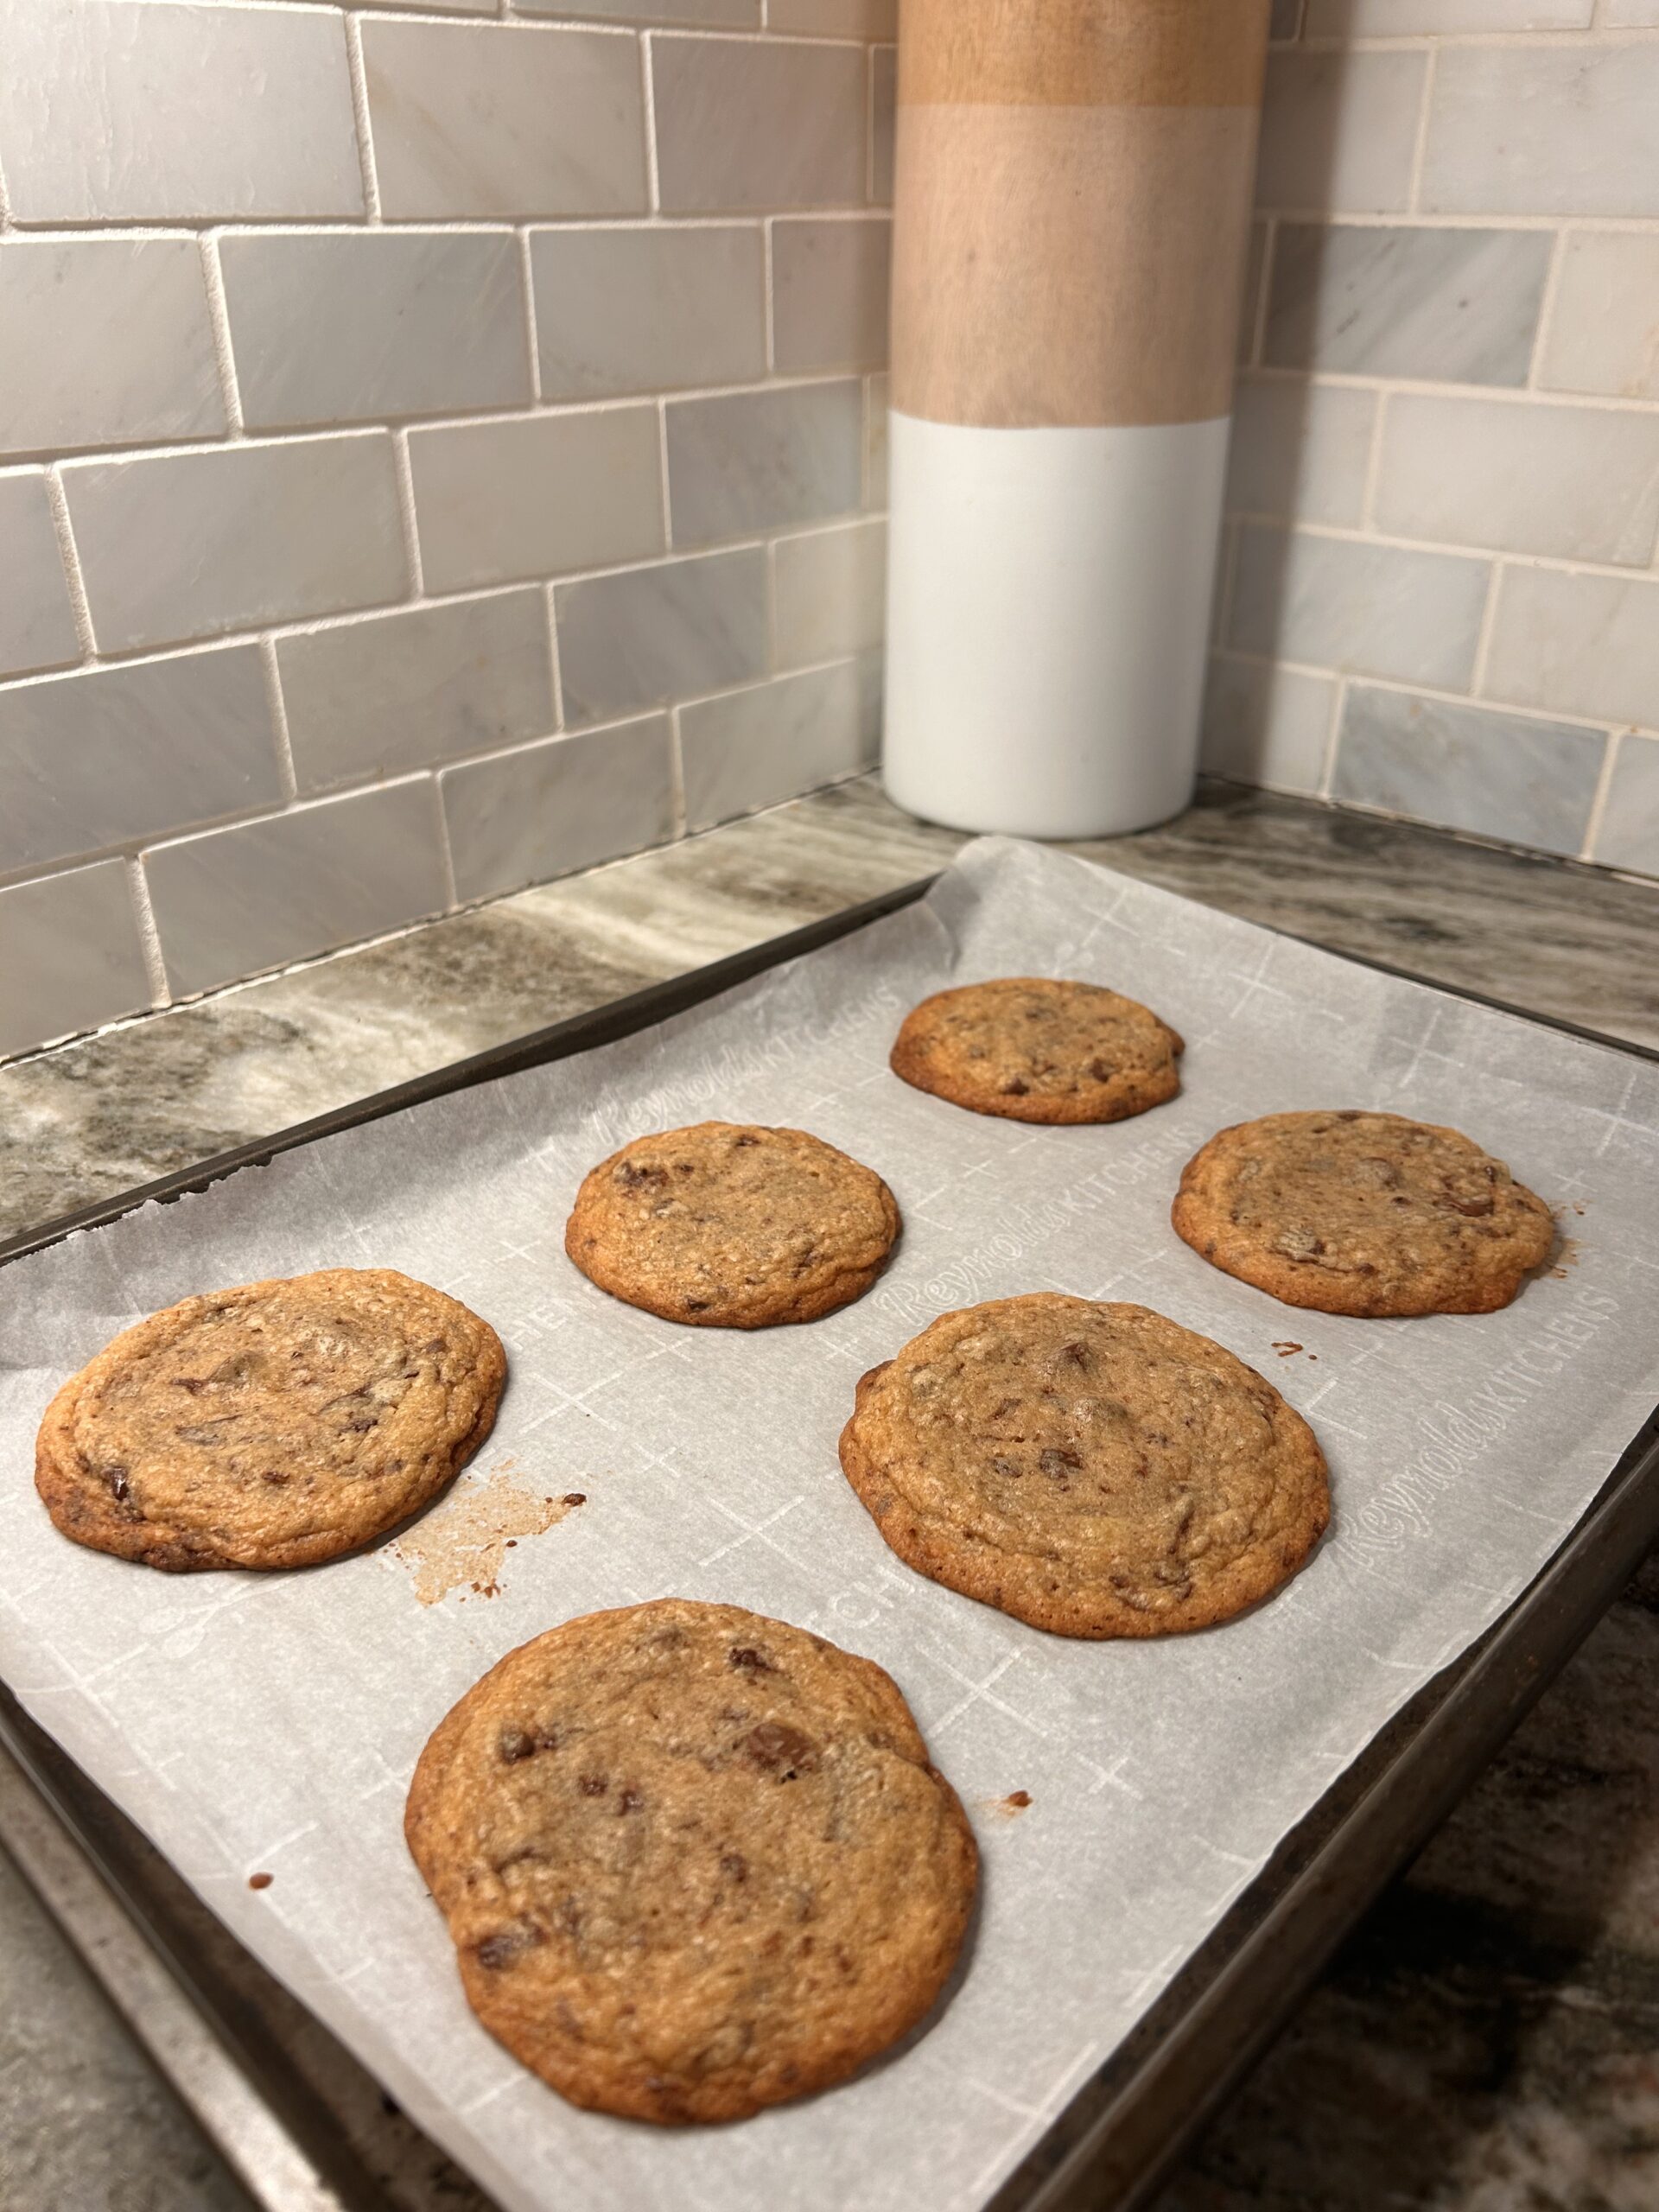
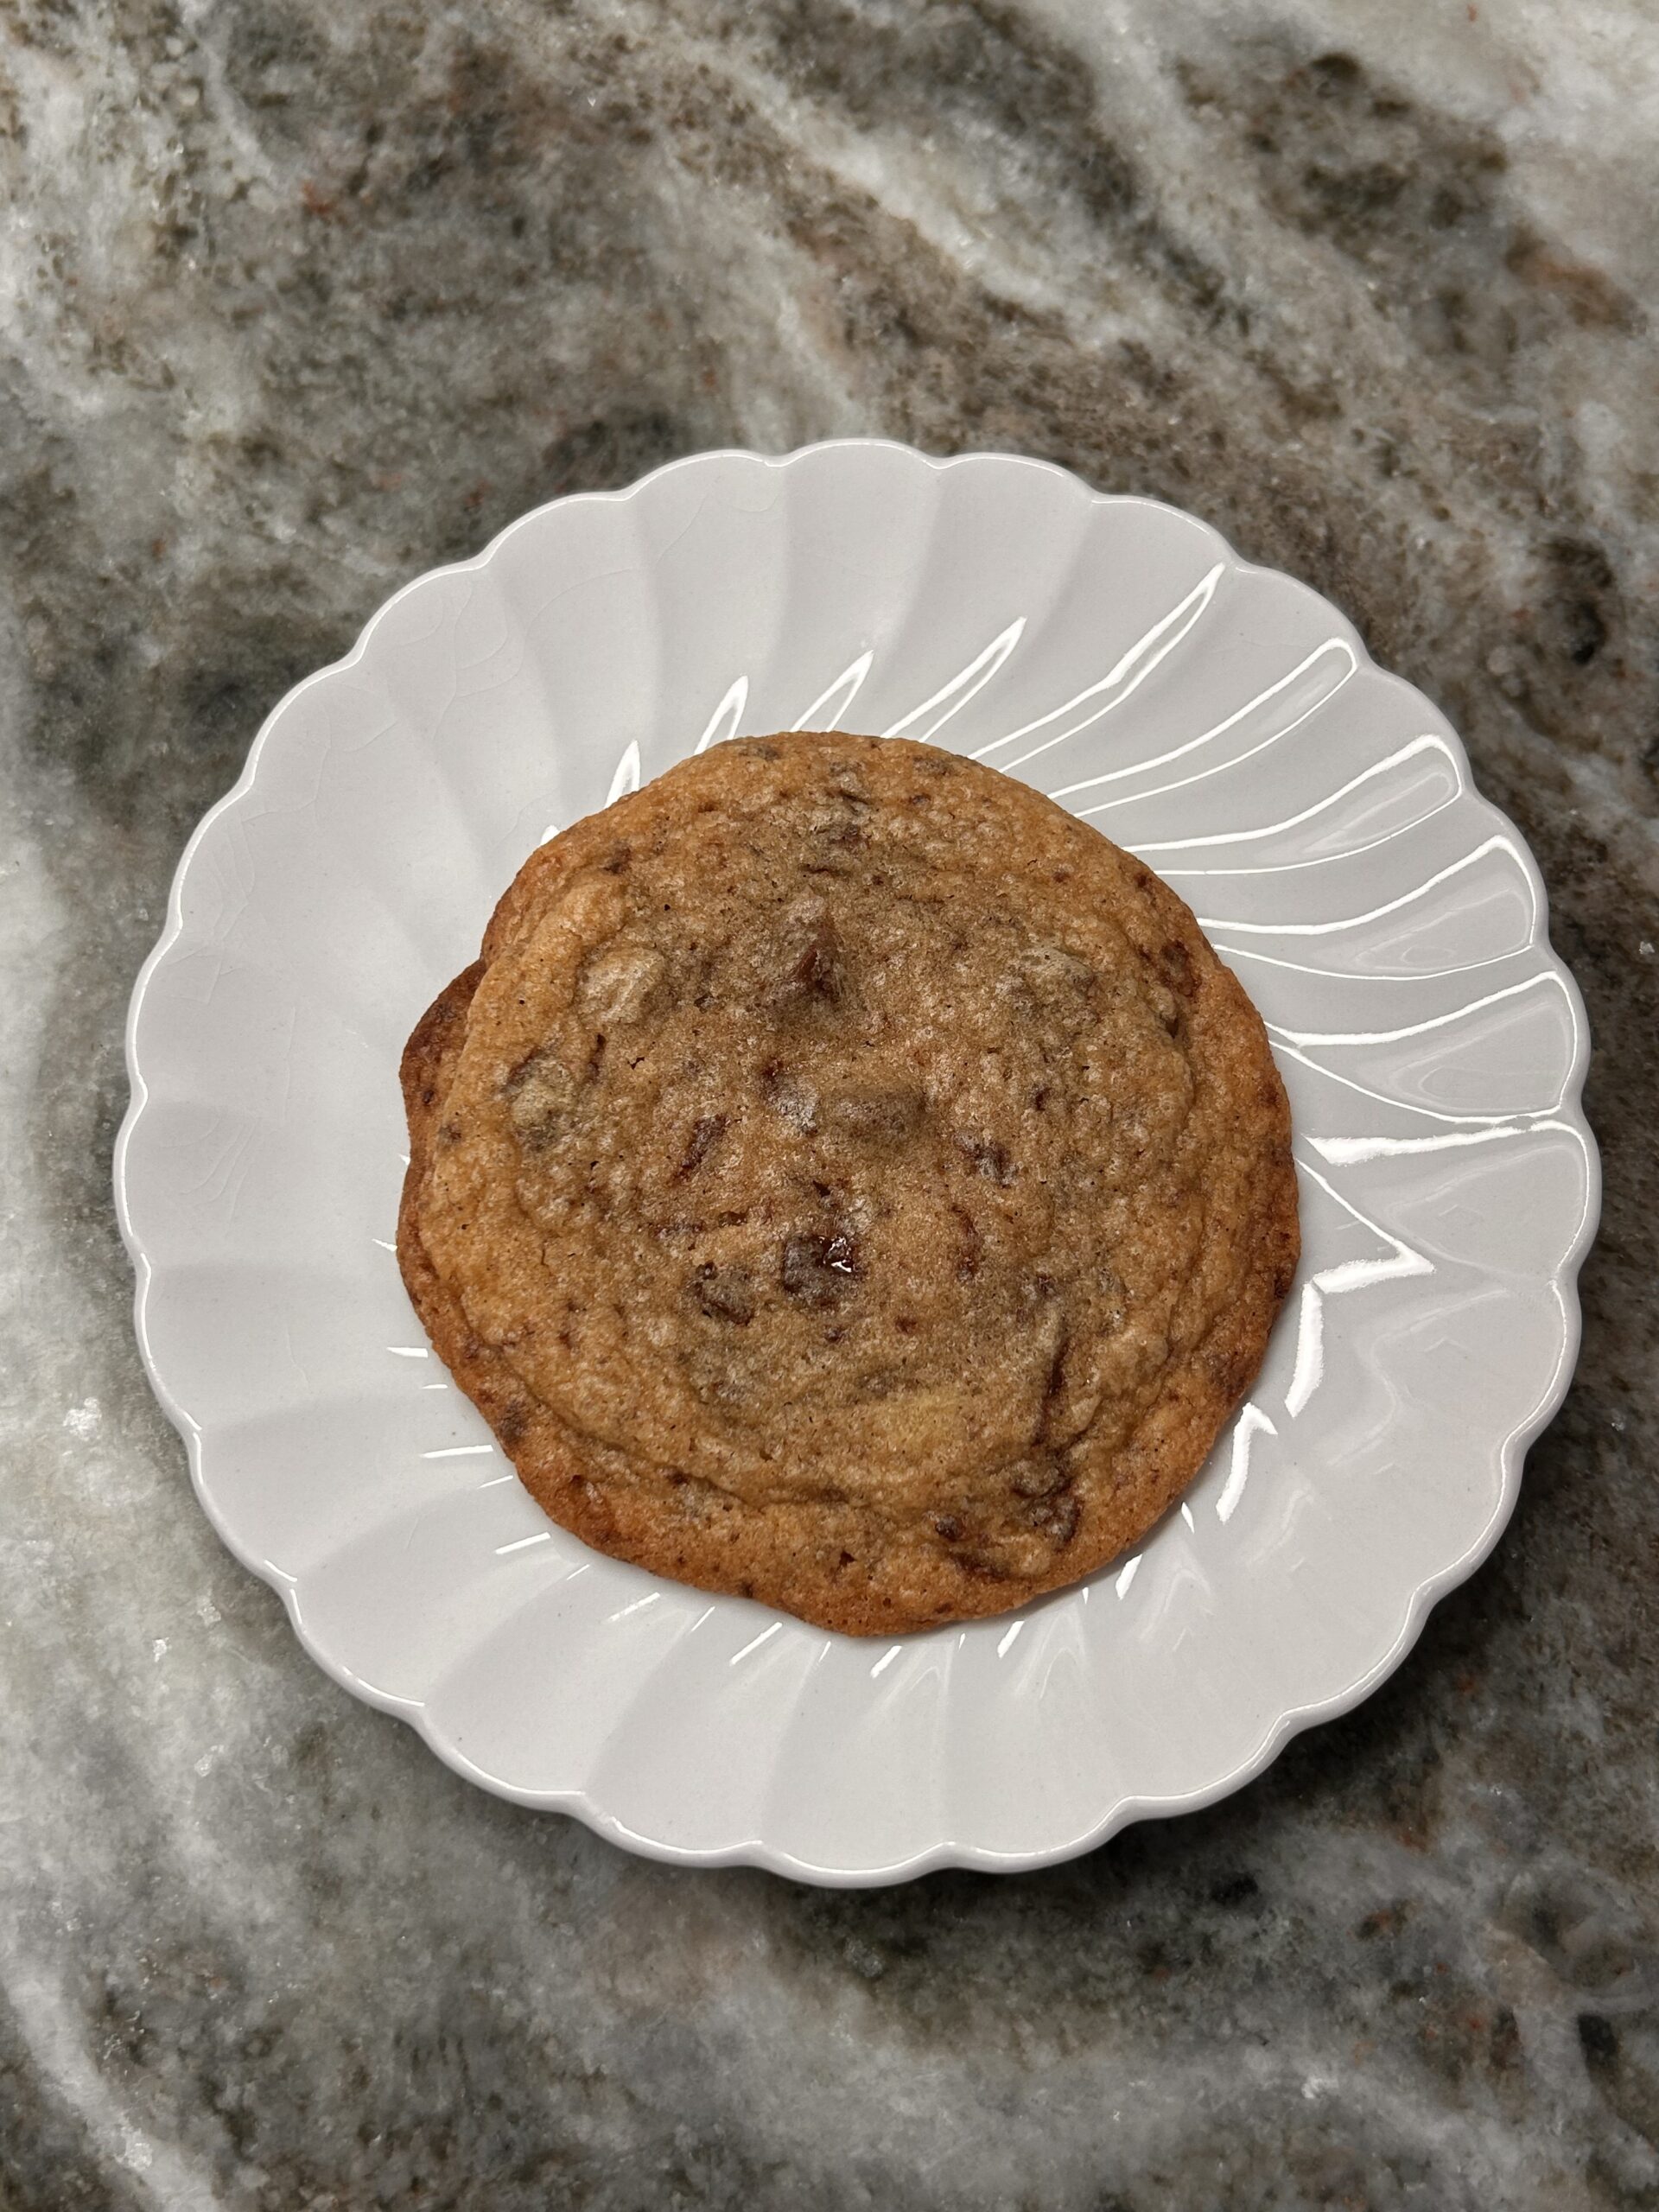
Flat, crispy edges converted this cakey-cookie lover
My family loves cookies that spread just right and have those gorgeous crinkly edges. And while I used to swear by gooey, raw-cookie-dough vibes, these cookies completely converted me. The nutty brown butter, the depth from dark chocolate, and the balance of sweet and salty all come together to make something magical.
This recipe is my go-to when I want to impress someone—or just treat myself (snacking on cookie dough is mandatory). I hope it becomes a staple in your kitchen too!
Let’s talk cookies. These brown butter chocolate chunk cookies are the result of many trials, tweaks, and (not-so-secretly) snacking on raw cookie dough along the way. I used to be a fan of the cakey, gooey-almost-raw cookies, but after much experimenting (and a few batches my family kindly criticized), I’ve landed on these beauties: cookies that spread just right, have crinkly edges, and still maintain that slight chew in the center.
This recipe was adapted from one of my favorite YouTubers, Sheldo. Watch his video for fun facts and detailed baking tips—he’s a gem! Now, let’s get to it.
Source: Adapted from Sheldo’s Brown Butter Cookies.

Ingredients
- 150g (2/3 cup) unsalted butter (melt before measuring if not weighing)
- 30g (2 tbsp) cold almond milk (or your preferred milk)
- 100g (1/2 cup) sugar
- 95g (1/2 cup packed) brown sugar (light or dark, either works!)
- 1 large egg (straight from the fridge)
- 1/2 tbsp vanilla paste (or 1 tbsp vanilla extract)
- 1 tsp pure maple syrup or honey
- 1 tsp baking soda
- 1 tsp kosher salt (use 1/2 tsp if using table salt)
- 175g (1 1/4 cup) all-purpose flour
- 75g semi-sweet chocolate chips
- 75g dark chocolate, chopped (Trader Joe’s 70% dark is my go-to)
Total Chocolate: About 3/4 cup of chips and chunks combined. Go ahead, use your favorites!

Instructions
Step 1: Brown the Butter
- Melt the butter in a saucepan/little pot over medium heat.
- Swirl occasionally until the butter foams, pops, and starts steaming (this is just the water evaporating—science!).
- Once the noise settles down, stir constantly, scraping the bottom so the milk solids don’t stick.
- Keep cooking until the milk solids turn golden brown, and the butter smells nutty.
- Turn off the heat and immediately stir in 2 tbsp of cold milk. It’ll sizzle and steam (don’t panic!). Pour the butter into a mixing bowl and let it cool for 5-10 minutes.
Step 2: Make the Dough
- Add the sugars (both brown and regular) to the slightly cooled butter. Whisk until combined.
- Add the egg, vanilla, and maple syrup (or honey). Whisk vigorously for 1 minute until the mixture lightens and thickens slightly.
- Sprinkle in the baking soda and salt. Whisk for another 15 seconds.
- Add the flour and use a spatula to fold until no dry patches remain. The dough will be soft and sticky—it’s okay!
- Fold in the chocolate chips and chunks evenly.
Step 3: Shape & Chill
- Scoop the dough into golf ball-sized portions (around 3 tbsp each). If the dough feels too sticky, chill it for 30 minutes and try again.
- Arrange the dough balls close together on a lined cookie sheet. Cover and refrigerate for at least 30 minutes (or up to 48 hours).
- You can also freeze the dough balls after chilling—just transfer them to a freezer bag and bake straight from frozen when the craving strikes (add 2-3 minutes to the baking time).
Step 4: Bake
- Preheat the oven to 350°F (175°C) and position the rack in the center.
- Place up to 6 dough balls on a lined baking sheet. Sprinkle with flaky salt (optional but recommended).
- Bake for 10-12 minutes. The cookies should have lightly browned edges and crinkly tops, with puffed-up centers that look just barely done.
- Cool on the tray for 5-10 minutes before transferring to a wire rack.
Iski Note
- Storage: These cookies stay fresh in an airtight container for 3-4 days (but honestly, they won’t last that long).
- Freezing Tip: Bake the cookies straight from frozen for convenience. They make a great emergency dessert! Bake them 1-2 minutes longer straight from the freezer for crispy edges.
- Texture Goals: If you like a gooey center, underbake slightly, 1 minute. For crisper edges, go for the full 12 minutes.


26 Responses
Do i need the honey
Do i need the honey
no you can substitute it with a tsp of more sugar or maple syrup/other sweetener. the honey makes it taste good to me
You don’t need the honey, but I personally like it for a touch of sweetness and moisture! If you prefer, you can substitute it with maple syrup or even a teaspoon of sugar to adjust the sweetness to your liking. Let me know if you try it!
I haven’t tried these yet but they look delicious
Thank you, and I hope you enjoy them if you get a chance to bake them 🙂
I’m a uni student and i dont have an oven or even a microwave,can i do this on a stove?btw this is my first time visiting your page, it is so cute💖
Hi Nat 🙂 I’m not sure how these bake on a stove, I’ve never made them on a stove top! Maybe covered on low heat? Next time I make a batch of cookies I’ll test one for you. Thank you and I’m glad you like the site its my first website I’ve made 🙂
My friend and I just amde these cookies, and we can saf say that they’re the perfect cookies & the best we’ve ever had!
This brought a big smile to my face, I’m glad you got to share it with a friend 🙂 thank you so much for letting me know
hii i was wondering how much cookies this recipe makes? because i want to try baking just a small batch
Hi! This should make about 15-20 45g sized cookies, or a little more/less depending on the size you make the cookie dough balls.
Just made these two days ago and they’re already gone! Going to make them again today because they are absolutely delicious! Also this website is super cute and straight to the point<3
These don’t last more than 3 days in my house! I’m glad you enjoyed them, and thank you for sharing 🙂 this is my first website ever so thank you for thinking it’s cute hehehe. have a blessed day love
i HAVEN’T MADE THESE (YET!) BUT i JUST WANTED TO SAY YOUR WEBSITE IS AWESOME. STRAIGHT TO THE POINT, ALL THE NECESARY INFO W NO BLABBER. i WISH MORE RECIPES WERE LIKE THIS! XX
THANK YOU JOSIE I PRAY YOU HAVE A GREAT DAY AND THESE COOKIES BETTER COME OUT GOOD FOR YA 🙂
I’ll make another tutorial for everyone since they like the recipe so much! Praise God for that
I have actually been craving these for soooooo long thank you for helping me sati my sweet tooth. Lol
aw i’m glad you think so! these help me sati my sweet tooth as well when i have them
This recipe was so sigma
This recipe was so sigmaaaaaa
LOve Love Love this recipe! My friend zz told me this is the best cookie recipe ever, her words were ” guys, its actually so good!” I was skeptical at first because the picture looked peculiar, but i choose to trust you. yes you. and i must say, I’m quite sati with the product! all in all, I give this recipe a thumbs up and a must try for all the lovely big mouthed foodies out there! Ya. 🙂
THANK YOU IM HAPPY YOU ENJOYED IT!!!
thank youuu
This recipe is wonderful!! I have made it many times and the cookies are always a hit! Thank you so much for posting it 🙂
IM HAPPY YOU LOVED IT GOD BLESS YOU BB