Prepare for buttery hands
I first saw the idea trending on social media – bakers grating frozen butter into dough to get flaky layers without the drama of actual lamination. After a few messy experiments (think butter bits everywhere), I can confidently say it’s worth the effort.
No sourdough starter? No problem. This version uses instant yeast to leaven the bread. It’s faster – you can start in the morning and have fresh croissant bread by lunch. We’ll slightly tweak the process: using warm water to activate the yeast and a shorter fermentation, plus a bit of chilling to keep that butter in check. The result is nearly as flavorful and just as flaky. This is perfect for those days you haven’t fed your starter or when you crave croissant bread now!

Ingredients
604g bread flour (this includes the flour that would have been in the starter)
430g water (warm, about 100°F/38°C – it should feel like cozy bath water)
15g salt (2¾ tsp)
6–7g instant yeast (≈2 teaspoons, or one packet of active dry yeast²)
113g unsalted butter, cold (1 stick, frozen and grated, as above)
Instructions
1. Mix and Knead: In a large bowl, combine the warm 430g water and 6–7g of instant yeast. (No need to pre-dissolve instant yeast, but if you’re using active dry, let it bloom in the water first for 5–10 minutes.) Add the 604g flour and 15g salt. Stir everything together until a shaggy dough forms. Now, unlike the sourdough version, we’ll knead to develop gluten more quickly (since we don’t have hours of fermentation to do the job). You can knead by hand on a lightly floured surface or use a stand mixer with a dough hook. Knead for about 5-8 minutes until the dough is smooth and elastic. It should form a slightly tacky ball that springs back when poked. (If kneading by hand, this is a sticky dough – try not to add too much extra flour. A bench scraper can help lift and fold the dough as you knead. You can also do stretch-and-folds in the bowl: mix until combined, rest 10 minutes, then do a round of folds, repeat rest and folds 2-3 times. This alternate method avoids over-flouring and builds strength.)
2. First Rise (Bulk Fermentation): After kneading, gather the dough into a ball and place it back in the bowl. Cover with a towel or plastic wrap and let it rise in a warm spot. Because we used warm water, the yeast should kick into action quickly. Leave it for about 45 minutes. By then, it will start to puff up (it may not double yet, which is fine because we’re about to fold in the butter which will knock it down slightly). Note: If your room is cool (below 70°F), the rise may take longer (~1 hour); if it’s warm (80°F+), it could be ready in 30 minutes. Keep an eye on it – slightly risen is enough before we laminate in butter.
3. Laminate with Butter – Fold 1: Once the dough has had an initial rise (even if modest), sprinkle half of the grated frozen butter over the dough. Use your hands to gently fold the dough in half, sandwiching the butter. Then perform a series of folds: stretch one side of the dough up and fold it over, turn and repeat, similar to the sourdough method. Fold it onto itself 8–12 times, rotating a bit each fold, so the butter gets distributed in layers. Don’t worry if some butter pokes out – just push it back in or press it to the surface. Cover the dough and let it rest for 20 minutes. (This short rest gives the gluten a break and keeps the dough from tearing as we add more butter. If at any point the dough feels warm or the butter is melting, stick the bowl in the fridge for a few minutes.)
4. Laminate with Butter – Fold 2: Now add the remaining grated butter over the dough. Do another round of folding: lift and fold the dough repeatedly. It will be squishier now, and that’s okay. By the last fold, the butter should be mostly incorporated in little cold flakes throughout the dough. Cover again and let the dough rise for another 30–45 minutes at room temperature. It should puff up more; by the end of this second butter-infusion, the dough may have nearly doubled in size from the original (the yeast is busy, even in the cooler dough).
5. Shape the Loaf: Lightly flour your work surface and turn out the dough. (It may feel softer and have some air bubbles – expect a slight butteriness on the surface too.) Gently press the dough to degas just a little – you don’t need to fully punch it down, but do release the big air pockets so it’s easier to shape. As with the sourdough, fold the dough in thirds or quarters to form a rough log or round, then flip seam-down and let it rest 10 minutes.
After resting, shape into a tight boule. Cup your hands around the dough and rotate it against the counter to create surface tension. The goal is a smooth, taut skin holding the dough together. Place the shaped dough seam-up in a floured banneton or bowl lined with a floured cloth.
6. Final Proof – Chill for Lamination: Cover the shaped loaf. Since this yeast dough is probably quite active now, we won’t give it a long room temp proof (to avoid overproofing), but we will give it a chill to firm the butter before baking. You have two options here as well:
Quick Chill, Same-Day Bake: Let the covered loaf sit at room temperature for only about 30 minutes (it may not visibly rise much in that time, which is fine). Then transfer it to the refrigerator for 30–60 minutes while you preheat the oven. This short cold proof will slow the yeast slightly and solidify the buttery layers. You can even extend this refrigerator time to 2 hours if needed – the yeast will remain somewhat active, just slower. (If your kitchen was on the cooler side and the dough didn’t rise much during folding, you can lengthen the room temp proof to 1 hour before chilling. The dough should feel a bit springy to the touch, but it’s okay if it hasn’t risen dramatically; it will spring up in the oven.)
Overnight Cold Proof: If you prefer to bake the next morning, you can refrigerate the dough overnight (8–10 hours). For an overnight proof with yeast, it’s best to use a little less yeast in the mix (around 3–4g instead of 6–7g) to prevent overproofing. Since we used a full amount of yeast in this recipe, only do the full overnight proof if your fridge is very cold and/or your dough wasn’t super active. Otherwise, limit the cold proof to about 8 hours at most. (The dough might rise a lot in the fridge; if it looks fully doubled or puffed with air, bake it – don’t let it sit for days.) The benefit of an overnight proof: even better flavor and very easy scoring/baking in the morning.
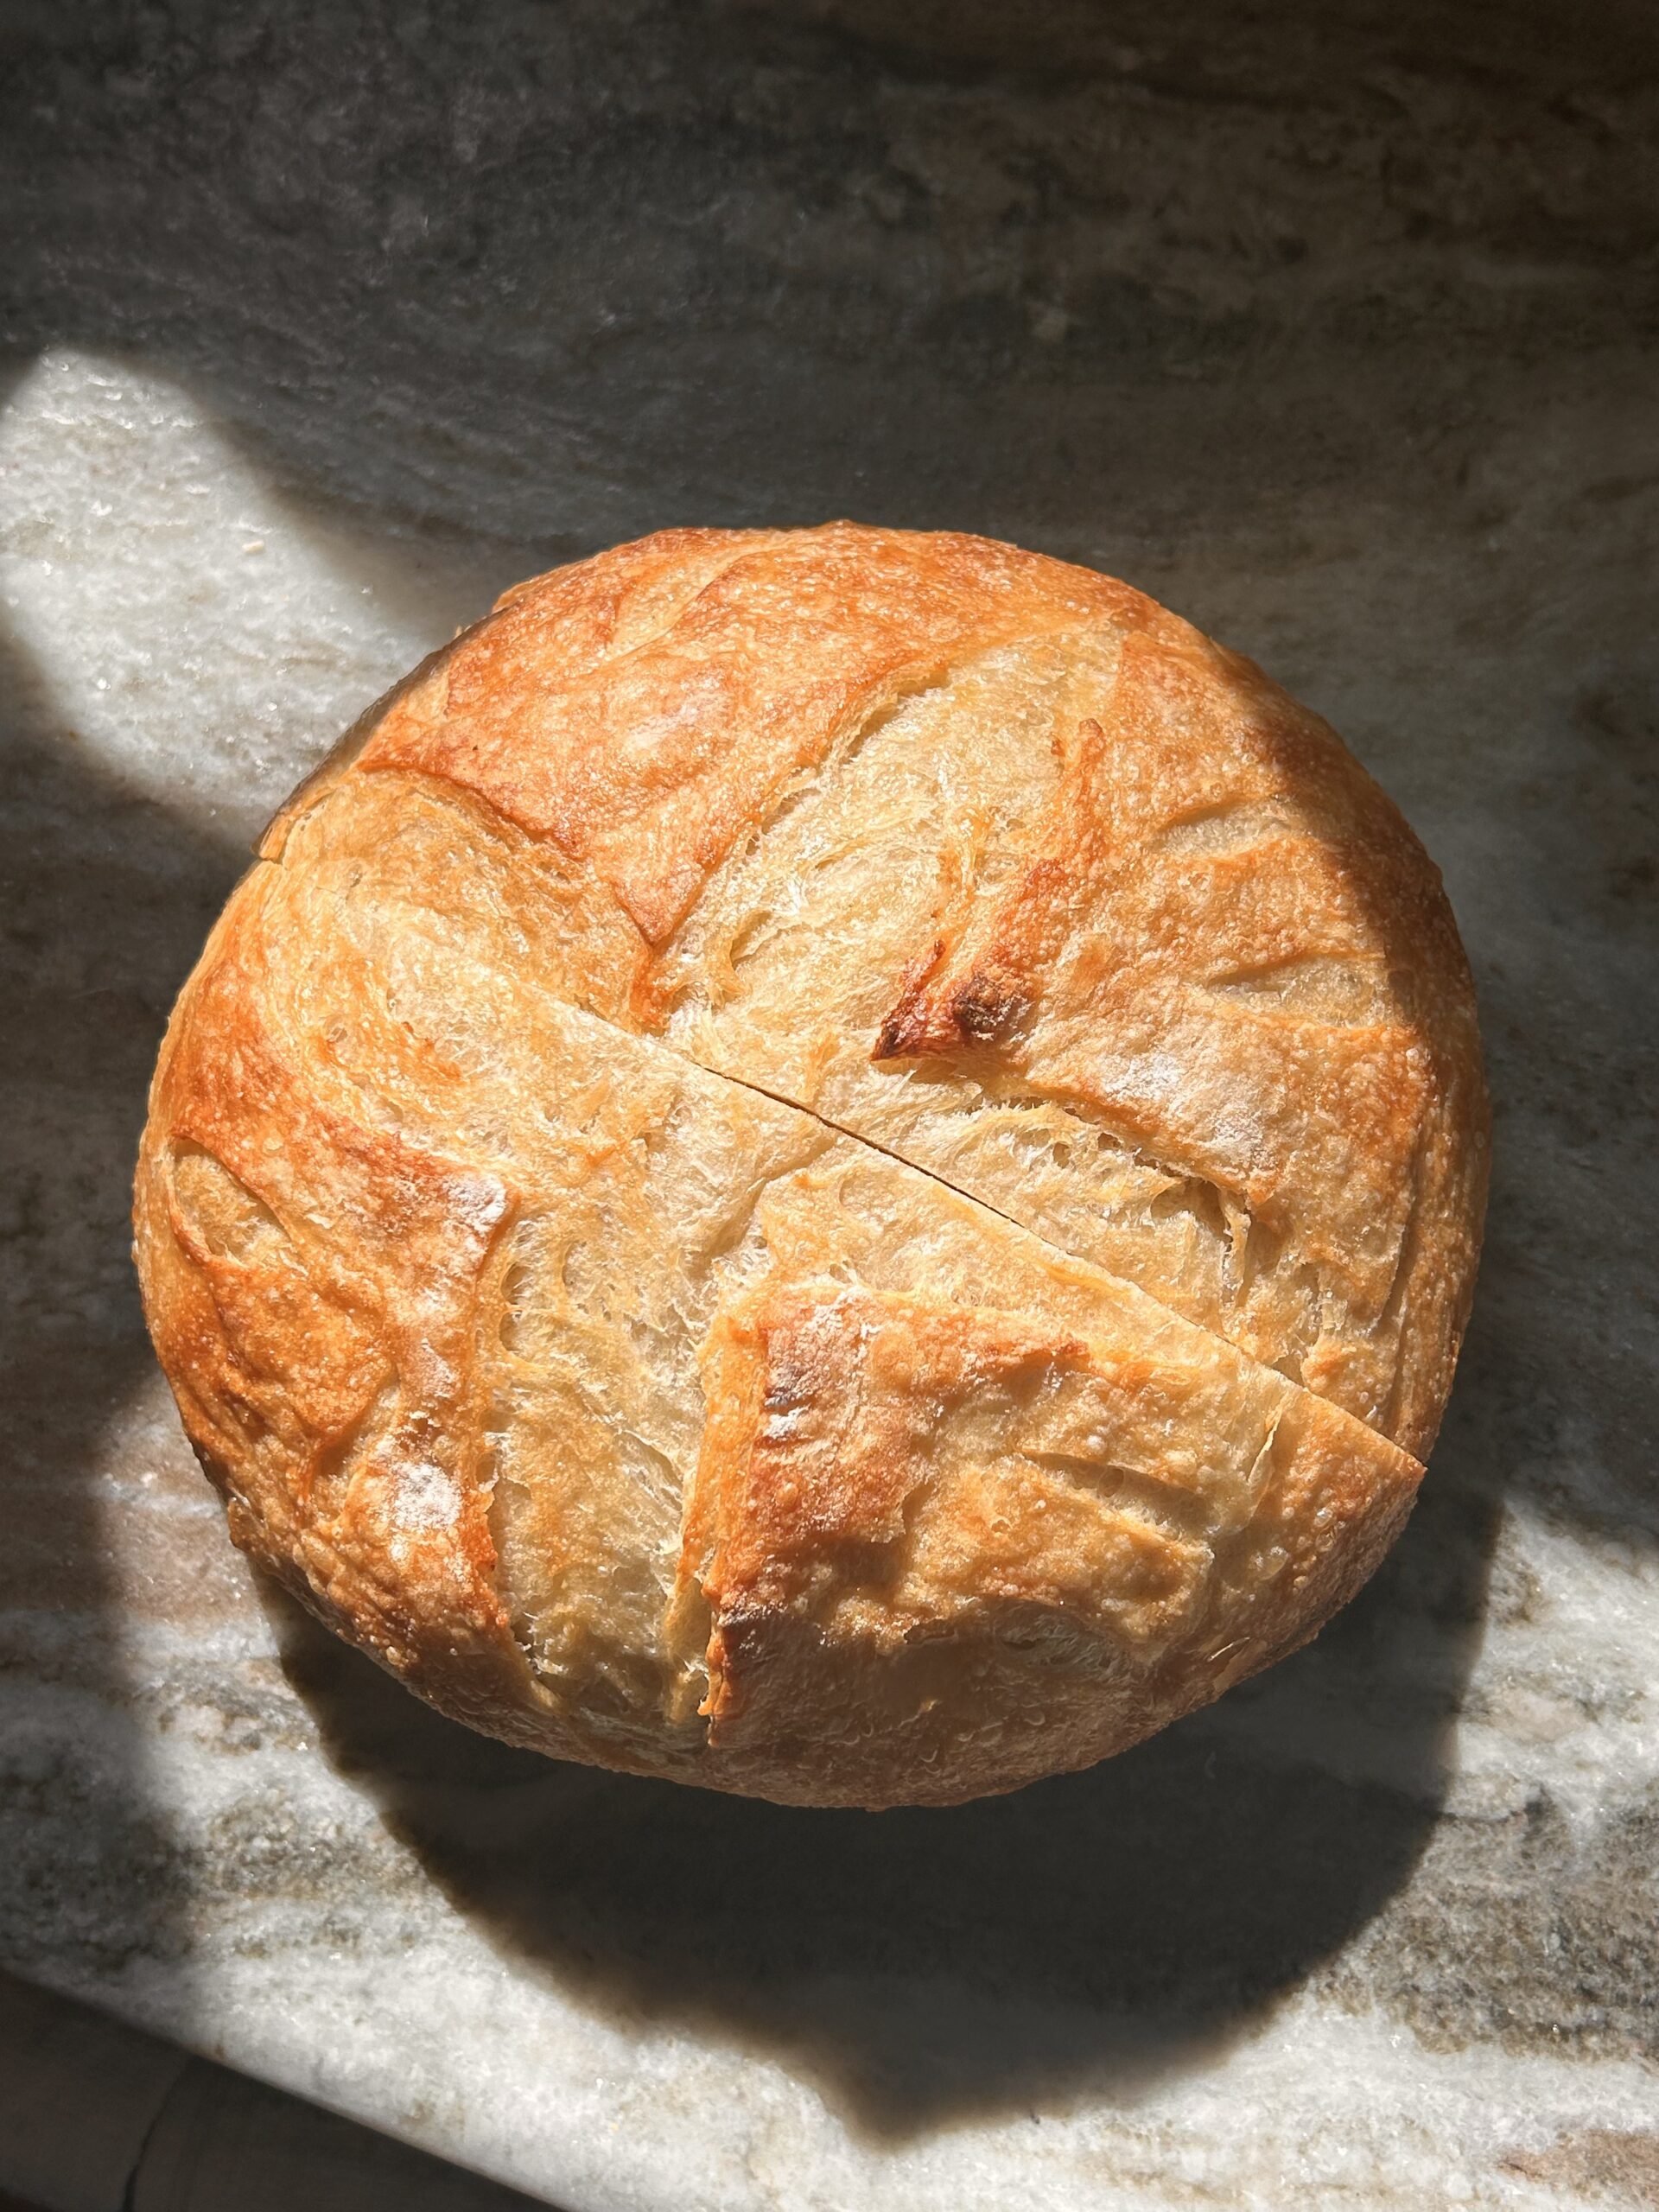
7. Bake in Dutch Oven: Whether you did a short chill or overnight, when ready to bake, preheat your oven to 500°F (260°C) with the Dutch oven inside (just as we did for the sourdough loaf). After at least 20–30 minutes of preheating, take your dough out of the fridge. Place a parchment sheet over the basket and invert the loaf onto parchment. Score the top confidently – the dough is cold and firm, so it should slash easily. (You can do a classic crescent cut or a few diagonal slashes; this helps control the expansion and shows off the layers.) Carefully remove the hot Dutch oven from the oven and lower your scored dough inside using the parchment as a sling. Cover with the lid.
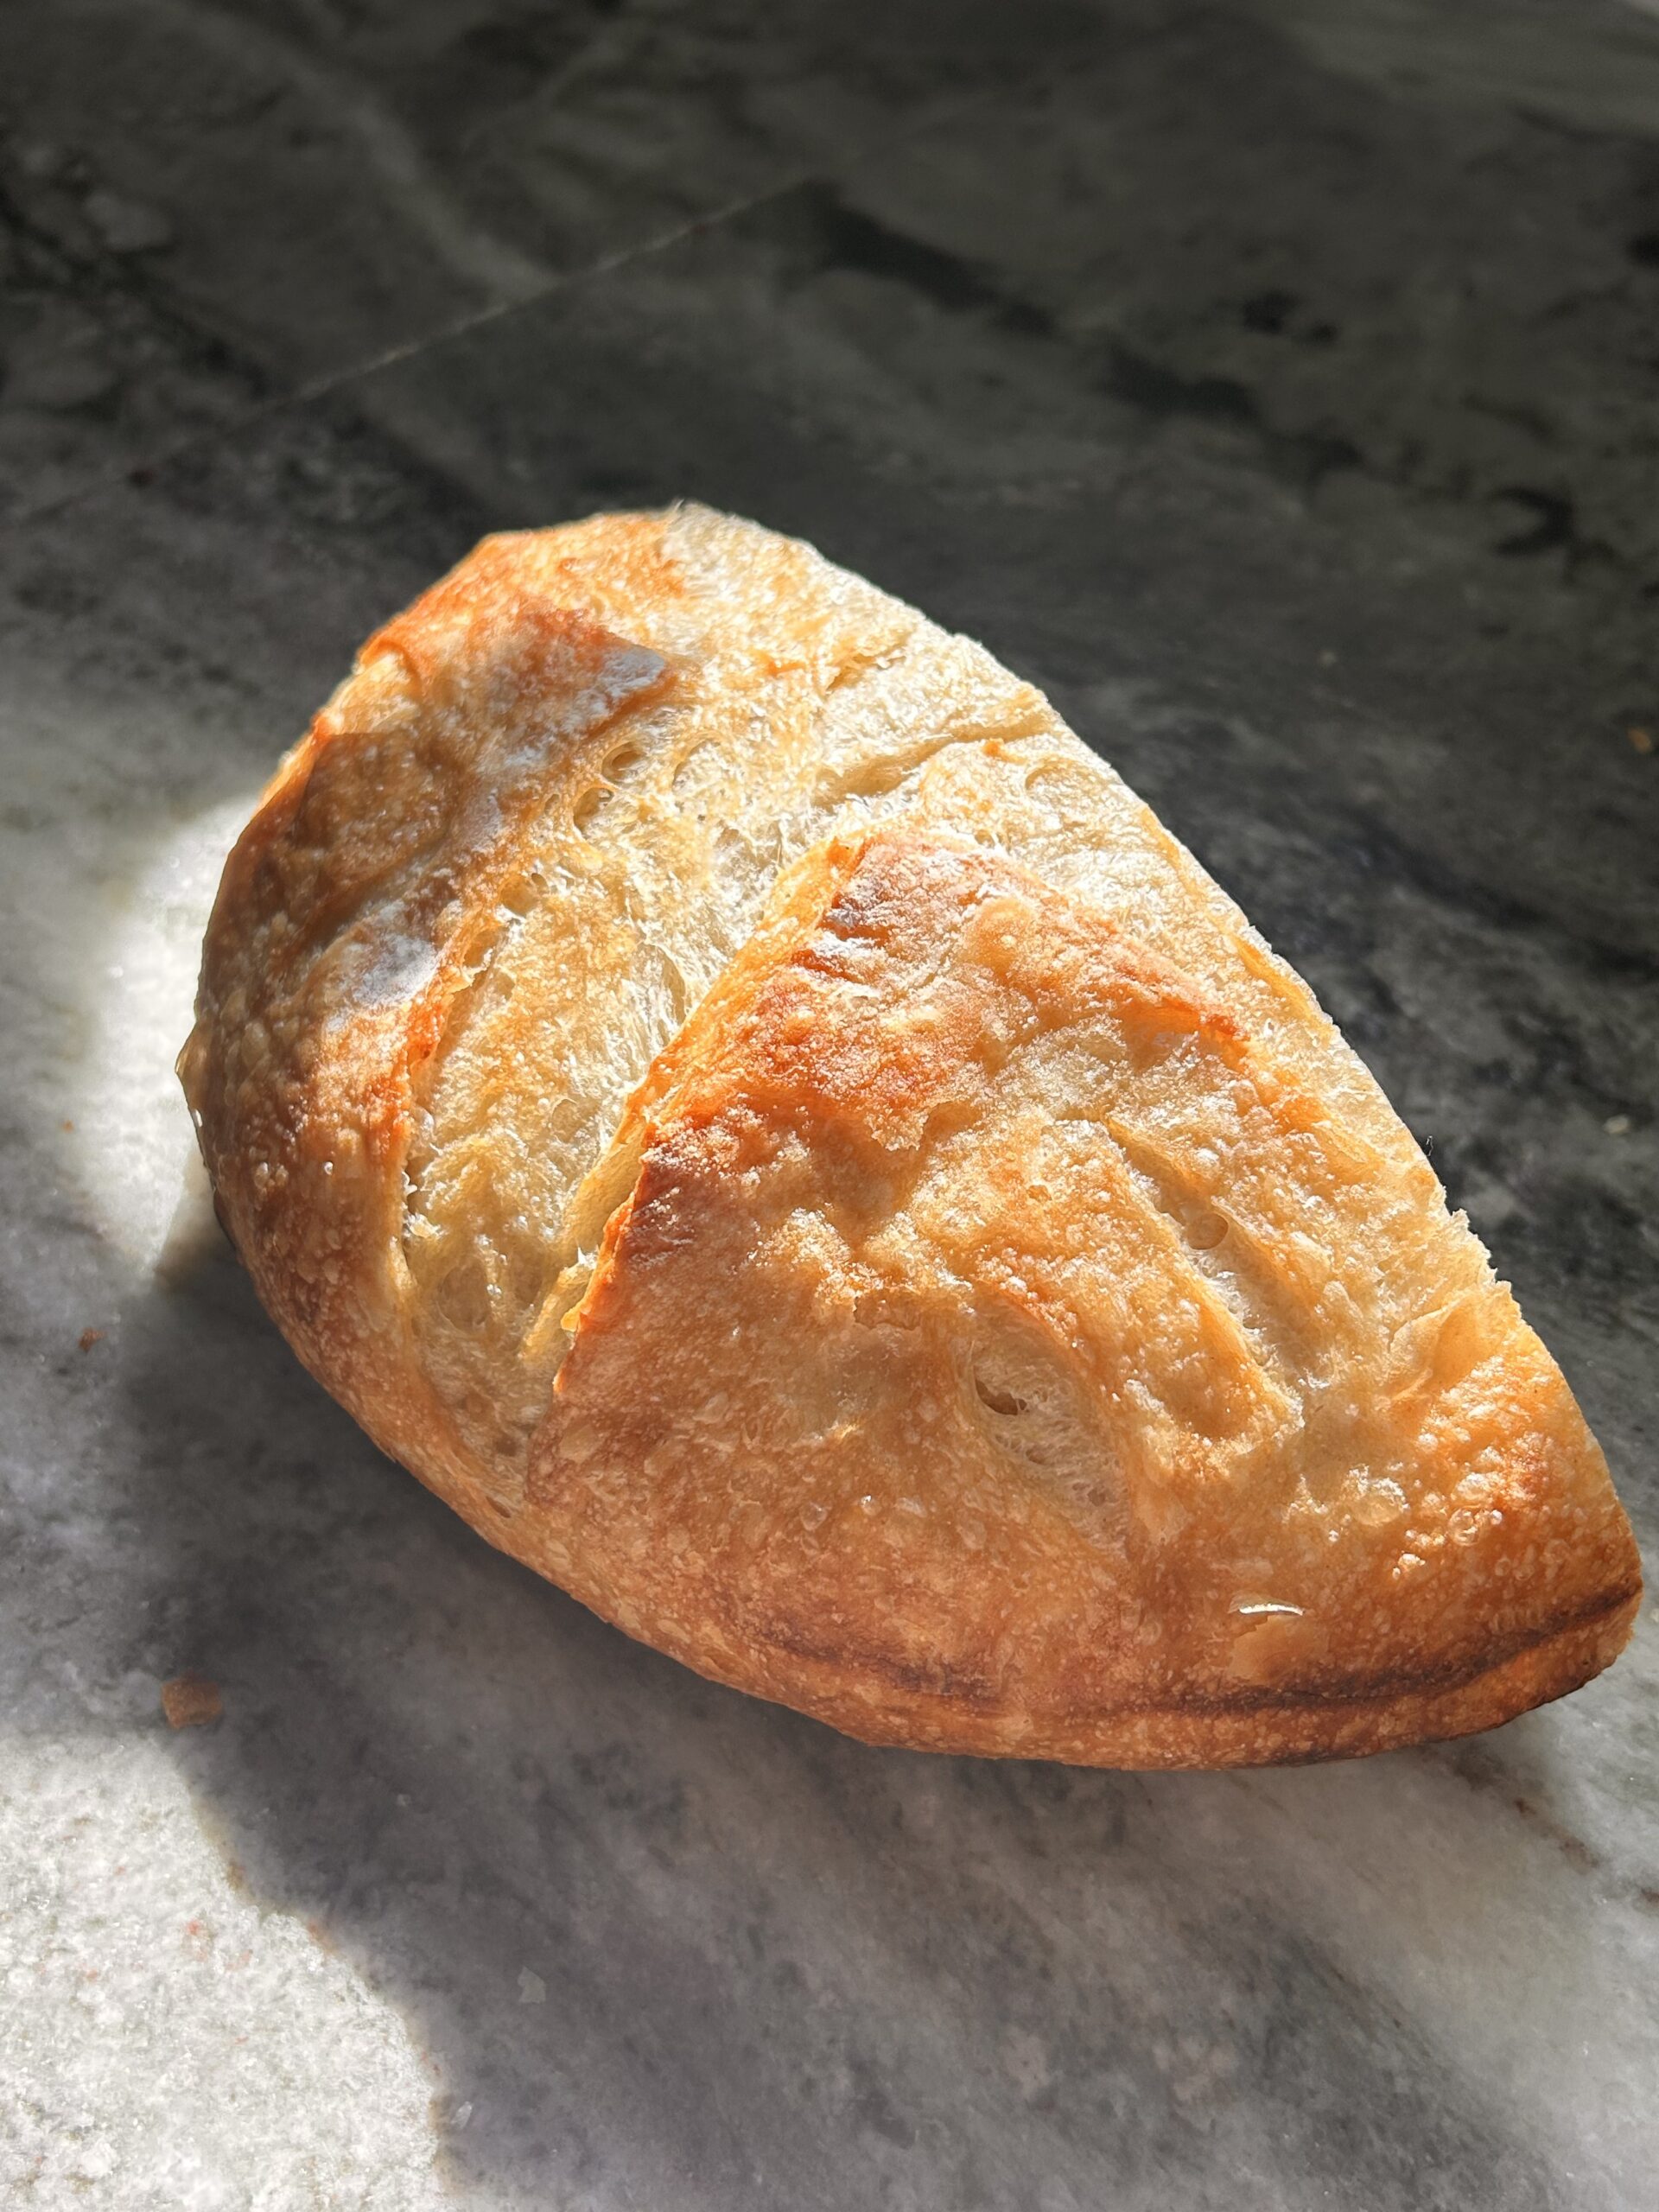
Bake at 500°F (260°C) for 15–20 minutes with the lid on, then remove the lid and reduce temperature to 450°F (232°C). Bake for another 15–25 minutes until the crust is a deep golden brown. Yeast-raised dough might brown a tad faster than sourdough, so keep an eye (if it’s getting too dark too quickly, you can drop the temp to 435°F/224°C for the remaining time). The finished loaf will have an irresistible toasty-buttery aroma. Carefully tip it out of the Dutch oven and cool on a rack.
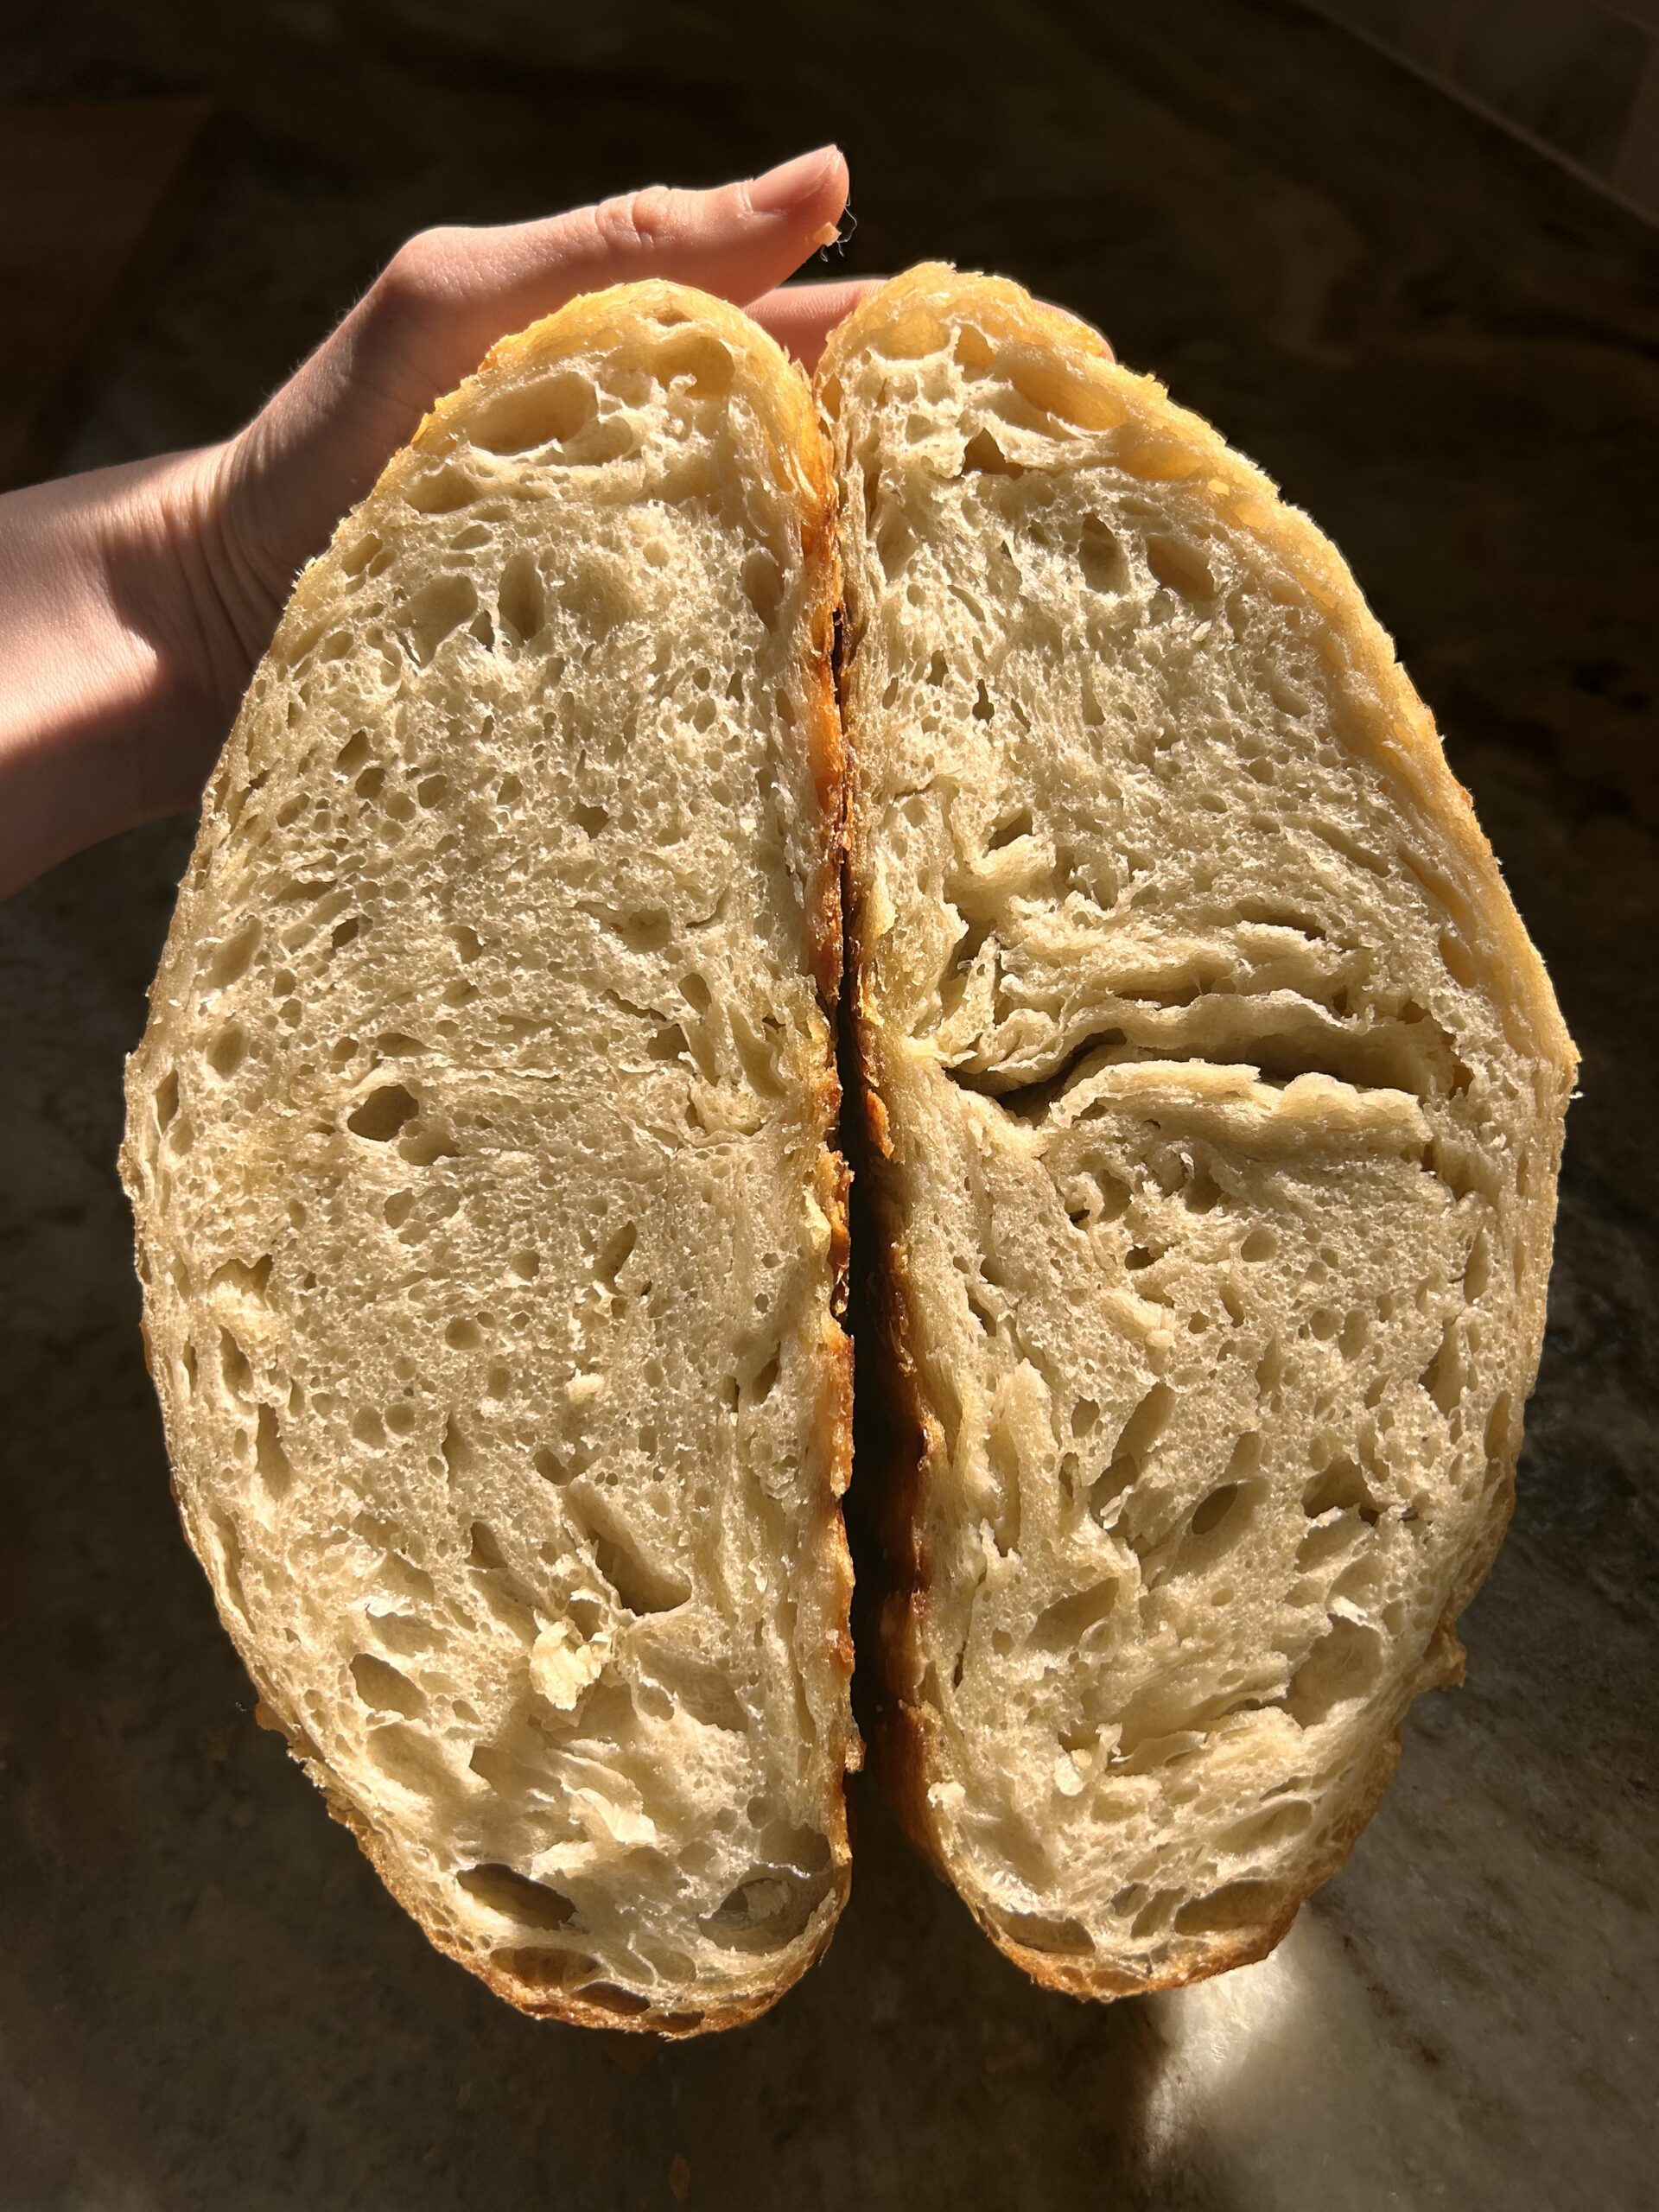
8. Cool and Slice: Let the loaf cool completely (at least 1 hour) before slicing to preserve the texture. Then, slice and marvel at the croissant-like interior! You’ll see thin flaky layers especially towards the edges and a soft layered crumb in the middle. The crust will be shattery from all that butter. This yeasted croissant bread is best enjoyed slightly warm or toasted. If you can’t finish it in one day (it’s rich, so you might actually have leftovers), store it in a paper bag or bread box for a day or two, or slice and freeze for longer storage.

Iski Note
Starter vs. Yeast (Levain Substitution): The sourdough version uses 120g of active starter. If you don’t have a starter yet, you can follow the yeast version – it’s just as tasty. Conversely, if you want to convert a yeast recipe to sourdough, a common swap is ~100g of active starter in place of 2 teaspoons of yeast (plus adjusting flour and water as we did here). Both methods benefit from the same technique of folding in cold butter. The choice comes down to time and flavor: sourdough gives a nuanced tang and chewier texture, while instant yeast is all about convenience and a slightly lighter crumb. I love having both options!
On Butter and Lamination: Using frozen, grated butter is a game-changer. It’s much easier than traditional lamination (where you enclose a whole sheet of butter and do multiple roll-outs). Grating creates small bits of butter that distribute through the dough. When baked, these butter pieces melt and release steam, puffing up the dough around them and yielding that croissant-like flakiness. Keep the butter as cold as possible until it hits the dough. If your kitchen is warm, grate the butter onto a plate and stick it back in the freezer until you’re ready to do your folds. If at any step the dough feels like the butter is melting (it will get shiny/slimy and hard to handle), don’t hesitate to pause and chill the dough for 10-15 minutes. Patience and temperature control will save your loaf.


Why this recipe hits
This croissant bread is decadent on its own, but it also makes amazing French toast! Also, customize it as much as you’d like! Chocolate croissant bread, almond croissant bread, anything you’d like!
This loaf makes a great gift!
